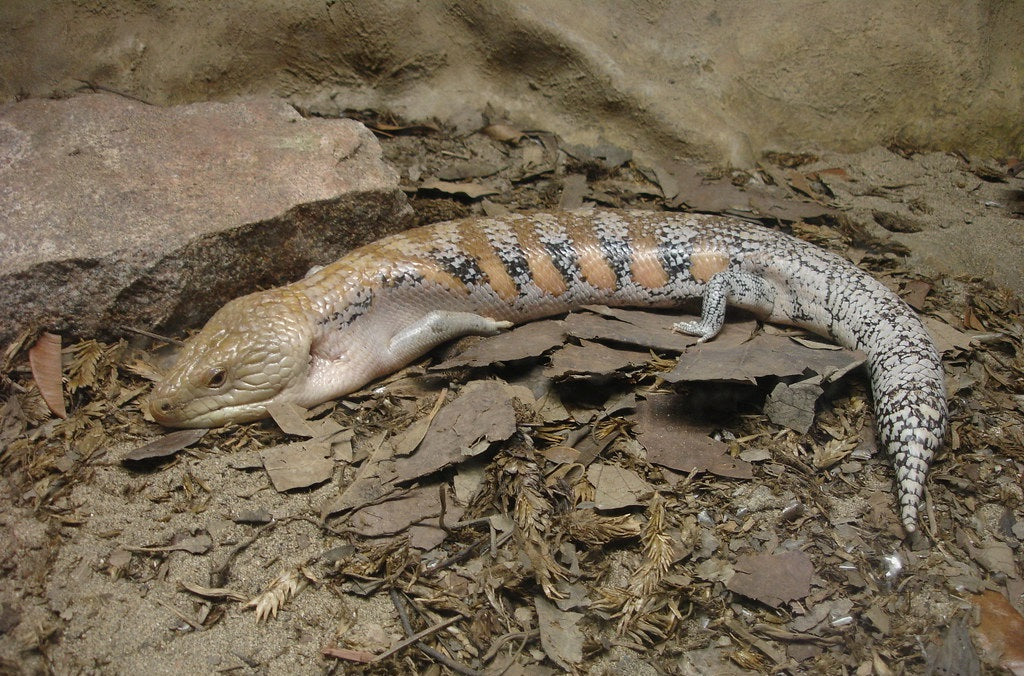
Are you getting a pet Northern blue tongue skink? Northern blue tongue skinks can make great pets. However, as exotic animals, it’s important that they have an enclosure built to more or less replicate the conditions of their natural habitat. Otherwise, they can’t survive.
If you haven’t read our article “How to Care for Your Blue Tongue Skink” yet, start there. Once you’ve read that and have a basic understanding of what your new pet needs from its environment, you’re ready to start setting up your Northern blue tongue skink enclosure.
Always set up a reptile enclosure well before you actually have the animal! This gives you more time to save up for the supplies you need, which in turn benefits your pet because you’re less likely to take shortcuts that may decrease its quality of care.
Step 1: Pick the Right Enclosure
Because Northern blue tongue skinks can grow up to 24” long, they should have an enclosure that measures at least 48”L x 24”W x 24”H, with larger being preferable.
The enclosure can be made of wood, PVC, or plastic, but it should be front-opening, and there should be adequate ventilation, whether in the form of side vents or a mesh top. One benefit of using an enclosure with a mesh top is that it makes it easier to install your various light fixtures.
If the enclosure doesn’t have opaque sides, you will need to cover them with some kind of opaque material to help your pet feel more secure in its environment. This can be as simple as construction paper or picture backdrop, or as elaborate as a 3D background.
Products we recommend:
Step 2: Set Up Lighting and Heating

For a blue tongue skink, you will need the following equipment to meet your pet’s light and heat needs:
- Heat lamps (at least 2)
- UVB lamp (half the length of the enclosure)
- 6500K lamp (most of the enclosure length)
The two heat lamps should be placed directly next to each other on the far right or left of the enclosure. The UVB lamp should be placed on the same end, very close to the heat lamps so the beams of light overlap. Then, place the 6500K on the same side, but because it’s longer than the other lamps, it will extend further along the length of the enclosure. All lamps should be arranged on the enclosure’s mesh top.
Products we recommend:
- Fluker's Mini Sun Dome Lamp, 5.5" (x2)
- Zoo Med Repti Tuff Splashproof Halogen Lamp, 90w (x2)
- Arcadia T5 HO Dragon 14% UVB bulb, 22”
- Arcadia ProT5 Lamp Fixture, 24”
- Arcadia Jungle Dawn LED
Step 3: Quarantine Period
Your blue tongue skink will need to be quarantined for 3-6 months to make sure that it’s healthy. This involves testing for parasites, administering medication as necessary, and generally monitoring the animal for concerning symptoms. It’s best to maintain fairly minimalistic conditions during this stage for easy cleaning, as having a fully set-up, naturalistic enclosure can make quarantine more of a hassle than it needs to be.
All you need equipment-wise for a Northern blue tongue skink quarantine setup is:
- paper towels
- flagstone
- hide box or cave (x2)
- water dish
- artificial foliage
- digital thermometer/hygrometer device (x2)
The piece of flagstone should go directly under the heat lamps to absorb warmth. One digital thermometer/hygrometer probe should be placed on the stone, with the other on the cool side of the enclosure. Temperatures should be as follows:
- Basking temperature — 95-105°F
- General air temperature — 70-85°F
- Nighttime — 65-75°F
If your basking temperatures are too high, now is a good time to either reduce the wattage of your heat bulbs or dial them down with lamp dimmers. If you need higher temperatures, you will need more powerful heat bulbs.
You will also need a good disinfectant to maintain sterile conditions during quarantine. This can be as simple as a bleach solution (¾ cup bleach per gallon of water) or veterinary-grade disinfectants like F10SC and Clean Break.
Products we recommend:
- Exo Terra Reptile Cave, Large
- Zoo Med Repti Ramp Bowl, Large
- Exo Terra Boxwood Bush
- Zoo Med Digital Combo Thermometer Humidity Gauge
Step 4: Add Substrate
Once your blue tongue skink has passed quarantine, you can finish setting up its enclosure. While the first phase of setup was strictly practical, now you can get more creative in designing something that will not only be more functional for your blue tongue skink to use, but also more attractive to look at. This starts with substrate.
Your best option for Northern blue tongue skink substrate is going to be a fine-particle naturalistic substrate such as play sand or a 60/40 sand/soil mix. You will need at least 2” of substrate, so for a 48”x24”x24” enclosure, count on at least 40 quarts or 1.4 cubic feet of substrate.
For an enclosure with different dimensions, you can calculate the amount of substrate you’ll need by multiplying the length x width to get the number of cubic inches of substrate it will take for 1” deep of substrate. Then multiply that number by the desired depth of substrate, then convert the resulting number to quarts or cubic feet, depending on the metric you need.
Step 5: Add Décor
After you’ve laid down your substrate, replace the hides, basking stone, and water dish. Everything else is going to go around these staple items. This is the time to get creative! Try to more or less replicate the layout of a Northern blue tongue skink’s natural habitat as you arrange the decor. You can find habitat pictures on sites like iNaturalist and Flickr.
Make sure to keep your water bowl accessible and easy to remove, and to keep some open space available for the skink to run around. Blue tongue skinks generally do well with a good amount of open space, as they don’t need as much clutter or available hidey-holes as more shy species.
Leaf Litter
Leaf litter gives your blue tongue skink something to burrow around in, and can even be used as an enrichment item for them to investigate/explore. Plus, it’s a great way to give your terrarium an instantly more natural aesthetic.
Wood makes a great material for your blue tongue skink to climb on or hide under, encouraging muscle tone or helping reinforce their sense of security. Mopani wood and cork bark tend to work best, as they’re available in larger chunks appropriate to blue tongue skinks’ capabilities.
Plants are a great way to make a blue tongue skink more attractive, whether real or fake, and perform the very important role of providing visual obstruction. While live plants help with maintaining higher humidity levels, note that blue tongue skinks are fairly heavy-bodied reptiles, so artificial plants are generally preferred for this species.
Conclusion
Even after you’ve set up your Northern blue tongue skink enclosure, don’t be afraid to continue to adjust the layout! Occasionally changing object placement or adding new things can stimulate your pet to explore, and it’s always a good idea to adjust your pet’s enclosure as you continue to learn and understand Northern blue tongue skink husbandry better.
Image modified from "Lima - Zoológico de Huachipa" by Santiago Stucchi Portocarrero is licensed under CC BY-NC-SA 2.0


Leave a comment
This site is protected by hCaptcha and the hCaptcha Privacy Policy and Terms of Service apply.